So I got to spend 40+ hours organizing my classroom and the
storage closet. On this blog post I want
to share with you how I organized a major amount of stuff as well as what your
room will look like as you organize it.
What to do:
Step 1- Before we start I want you to sit down and grab a
box of tissues. Just get the crying out
of the way before you start. Yes, every
time I have organized a classroom or have been relocated I have cried at least
three times during the organization of my room.
This time I cried five times. I
am not proud, but think you should know you aren’t the only one to break down
in your room. You are allowed to break
down and have a moment as you get your room ready. I also had difficulty the last two weeks
sleeping and eating. It’s called stress
and everyone deals with it differently.


Step 2- Go buy a LOT of Sterilite tubs and drawers. Enough to fill up your storage area. I had 33 tubs with props and items in my
other classroom and bought about 50 tubs total.
In the storage closet I started with the tubs I had at my other
school. I removed everything off the top
shelf and moved the shelf using a ladder.
I moved the shelf on top of the shelf that was even to it. Each of my shelves was in two pieces and very
heavy. Next, move all the metal
brackets, and lock the brackets. Next
slide the shelves over onto the brackets that have been moved and move the brackets
and lock on the other side. Next fill up
the top shelf. I was able to put 11 tubs
across on the top shelf and stack them three tubs high. Next remove all the items on the next
shelf. I had to work around the brackets
that hung down under the shelf so I could only fit nine tubs across on all the
other shelves. Keep working your way
down.


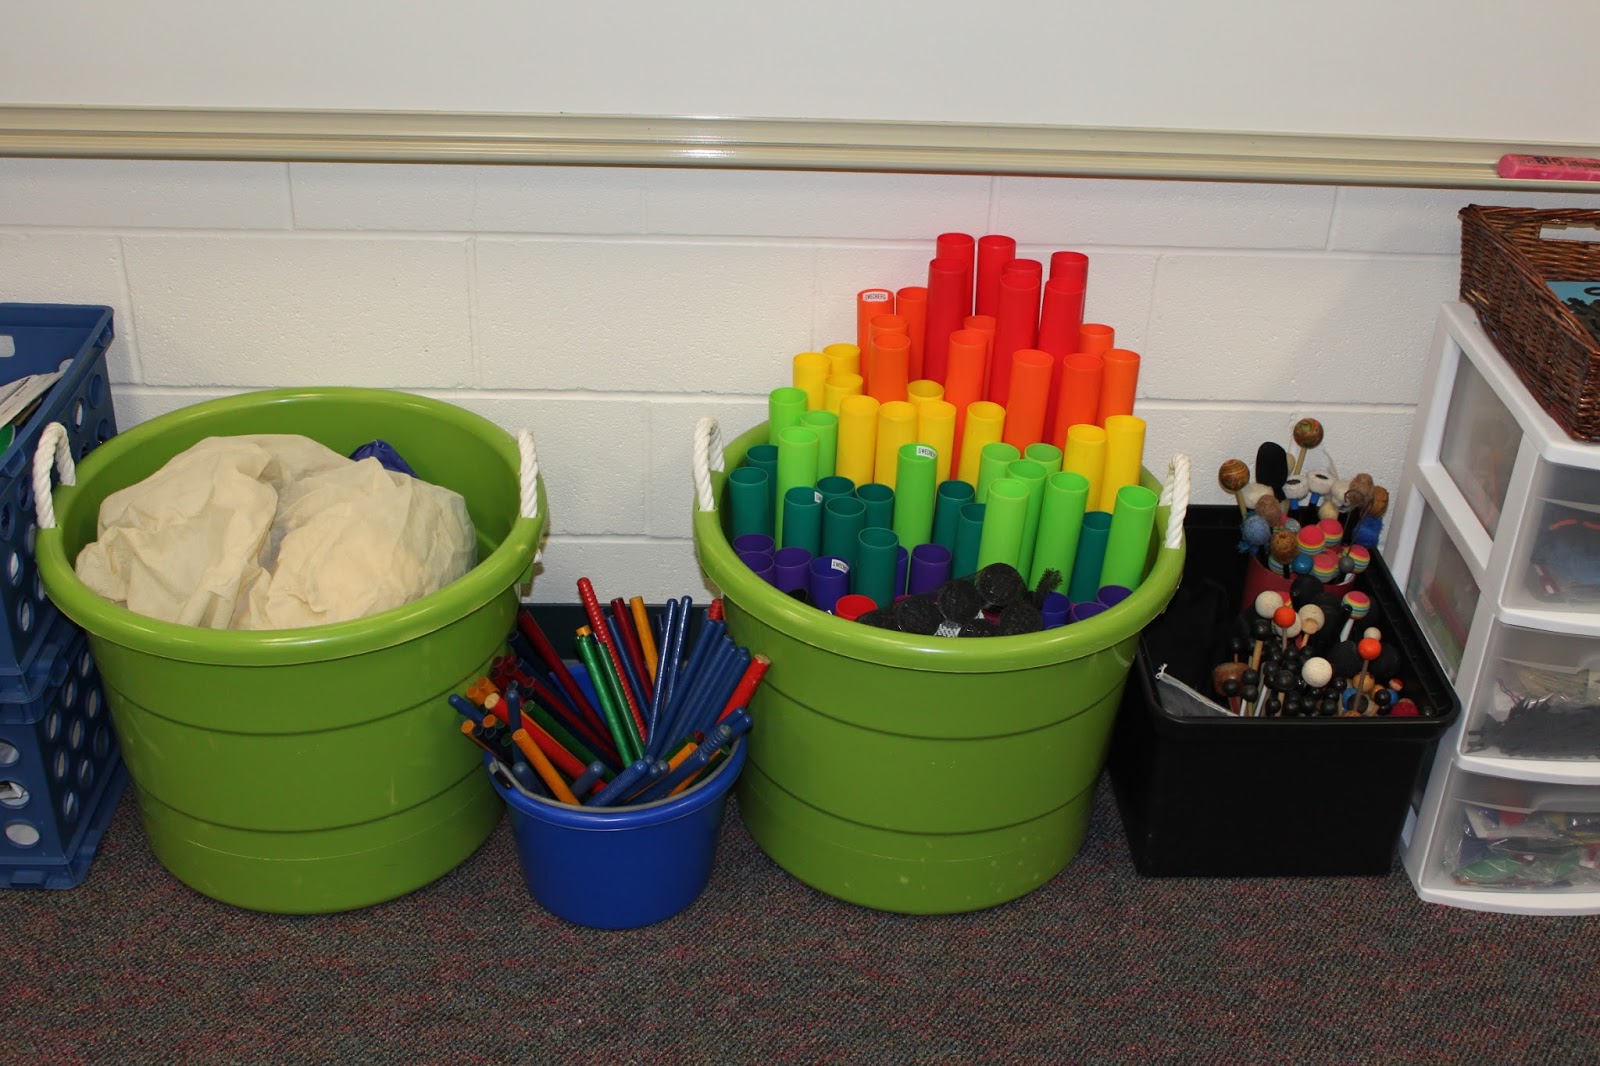
Step 3- Lay out the tubs and organize like items together. Open all the boxes and get the props in
something you can see. Put items like
costumes and hats on the top shelf where you don’t need to get them every
day. Items like my four tubs of puppets
and holiday items are on the bottom three shelves.


Step 4- Throw away the stuff you think you would never use. Yes that includes the technology that is
older than you, and the garbage. I found
boxes of cotton balls for bunny tails and pony tails made from braided panty
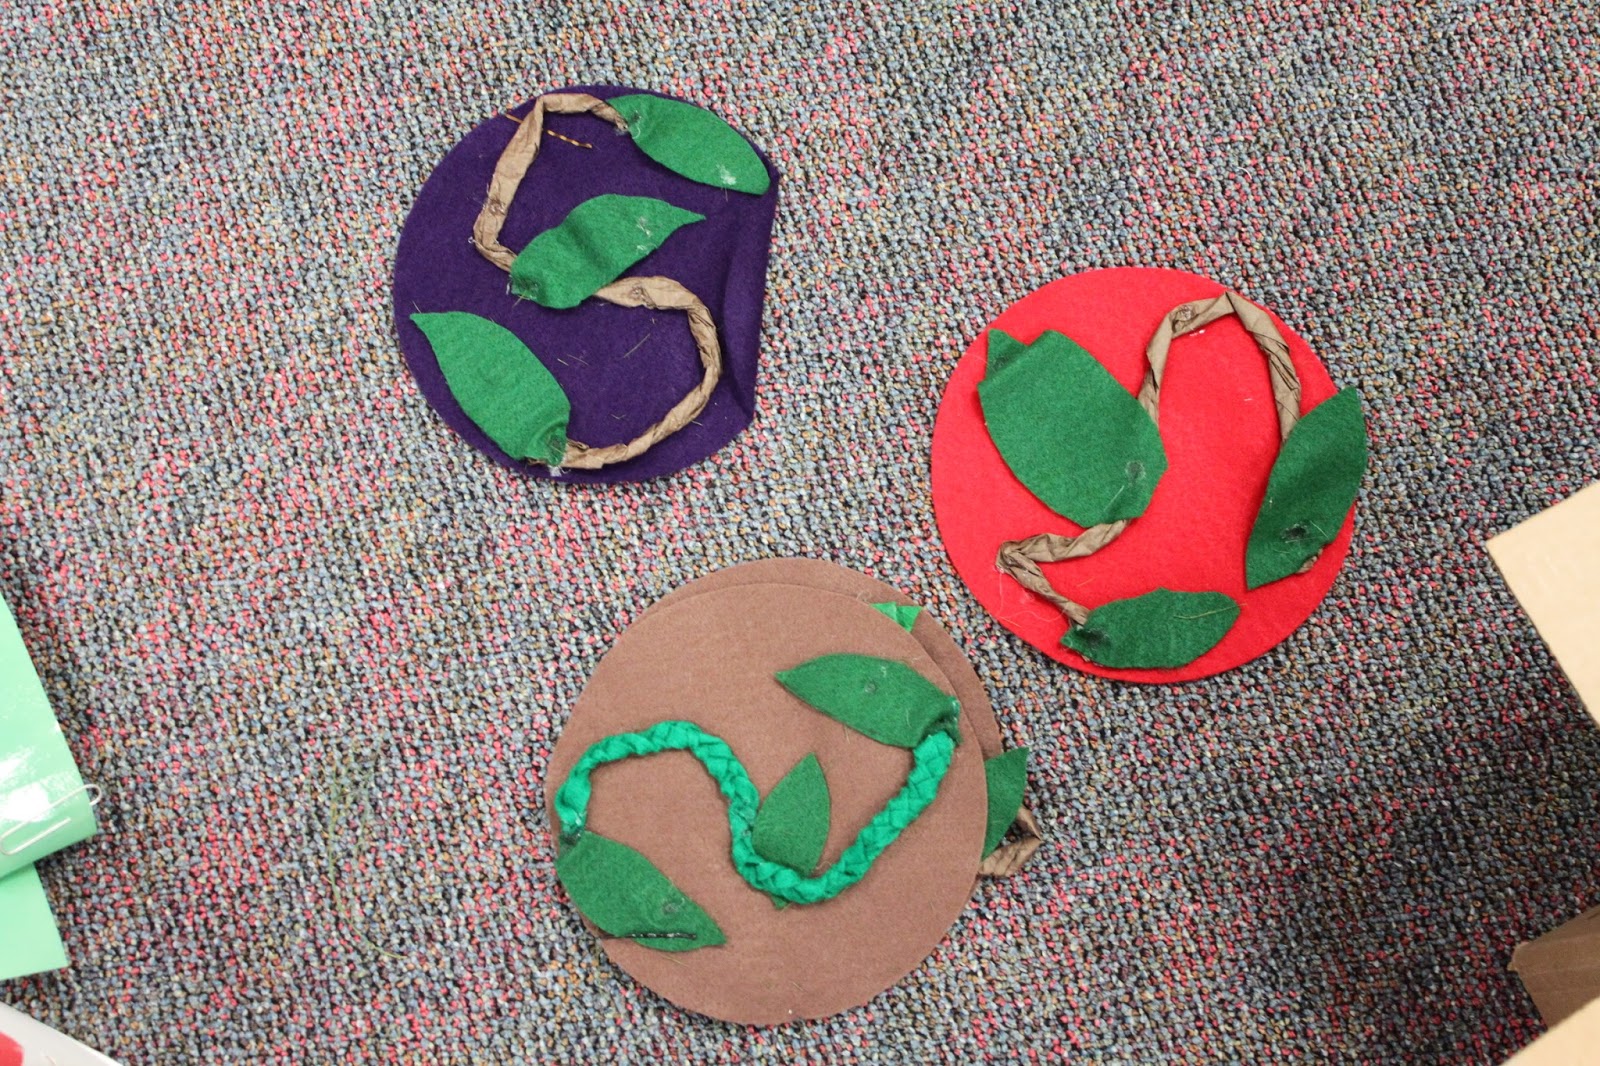
hose. I had to throw some cute felt hats
because they were stored with some foliage that made them stink. I was able to throw away 8 large lunch room
trash cans of stuff. If it doesn’t serve
a purpose or give you joy see if a new teacher might want it. All the teachers in my building put their
unwanted items in the lounge at the beginning and end of the school year. I
have found some great items and I have given some great items.


Step 5- Save the file cabinet and all of your paperwork for
later. After dealing with all the other
items and props I couldn’t bring myself (without crying at least five more
time) to deal with the paperwork and file cabinets.


Step 6- Sometimes you take a step back to take a step
forward. So at this point I have most of
the storage closet organized. Now it is
time to tackle the classroom. Think
about how you want your classroom to run.
I recommend reading my previous blog post about organizing your
room. Start organizing your student
areas. Have areas for centers,
instruments, student supplies, rewards, music textbooks, stereo system, etc.


Step 7- Cry again.
Yes you are dealing with 100 degree heat because the air is off, you are
hungry and tired, and if you touch one more dead thing (beetle, roach, spider)
you are going to lose it!!!!
Step 8- Ask, ask, ask!!!
If you could have whatever you wanted in your classroom what would you
need or want? Now ask your principal or
custodians if there are any of these items in storage at your school or in
another district building. I shared with
my principal why I thought it was important to get some bookshelves and how I
planned to use them. I actually got my
principal and asked him to come down to my room to see what I was talking
about. I had a good start on my closet
and had everything in tubs. He was very
impressed with the closet and offered to help cover the cost of the storage
tubs. Yeah! He was also able to get me a cabinet with a
door. Other people to ask are the
PTA/PTO for supplies, Walmart for donations, or write a grant on
DonorsChoose.org. I have received over
$30,000 in classroom instruments, supplies, and technology just on DonorsChoose.
One more idea is to send out an email to
your school offering to trade items.
Hey, it works.


Step 9- Don’t expect everything to be perfect right
now. Make a plan and give yourselves
deadlines to meet. I am not 100% happy
with my classroom. Ideally, I want two
black shelves on each side of mega shelf to make my back wall look asymmetrical. It is driving me crazy, but it’s something I
can live with until I can write a grant for the shelves. I plan on getting my grant submitted this
month. So my plan after I get the
shelves is to move all my center supplies (currently in the cabinet with the
door) to the storage closet, move all the K-8 magazines to my room on the
shelves. I also need to go through the
paperwork in my file boxes, rolling cart, and file cabinets. I also need to put my books and binders
together. Right now they are in two
areas. I also have some duplicates of
some books and program binders because I have always traveled. I also plan on making spine covers for all of
my 3 ring binders so I can find what I need quickly.


Step 10- Remember that you only have to do this major
organization project once. Then you can
enjoy your room, find all your supplies, and have a great functioning
space. It will not be perfect and you
might have to change your plan as you begin organizing. It’s okay.
Your room is your home away from home and I hope this post helps you as
you get your room ready for a new year.